Posts Tagged ‘yoga pose’

Asana of the Week – Wheel Pose

wheel

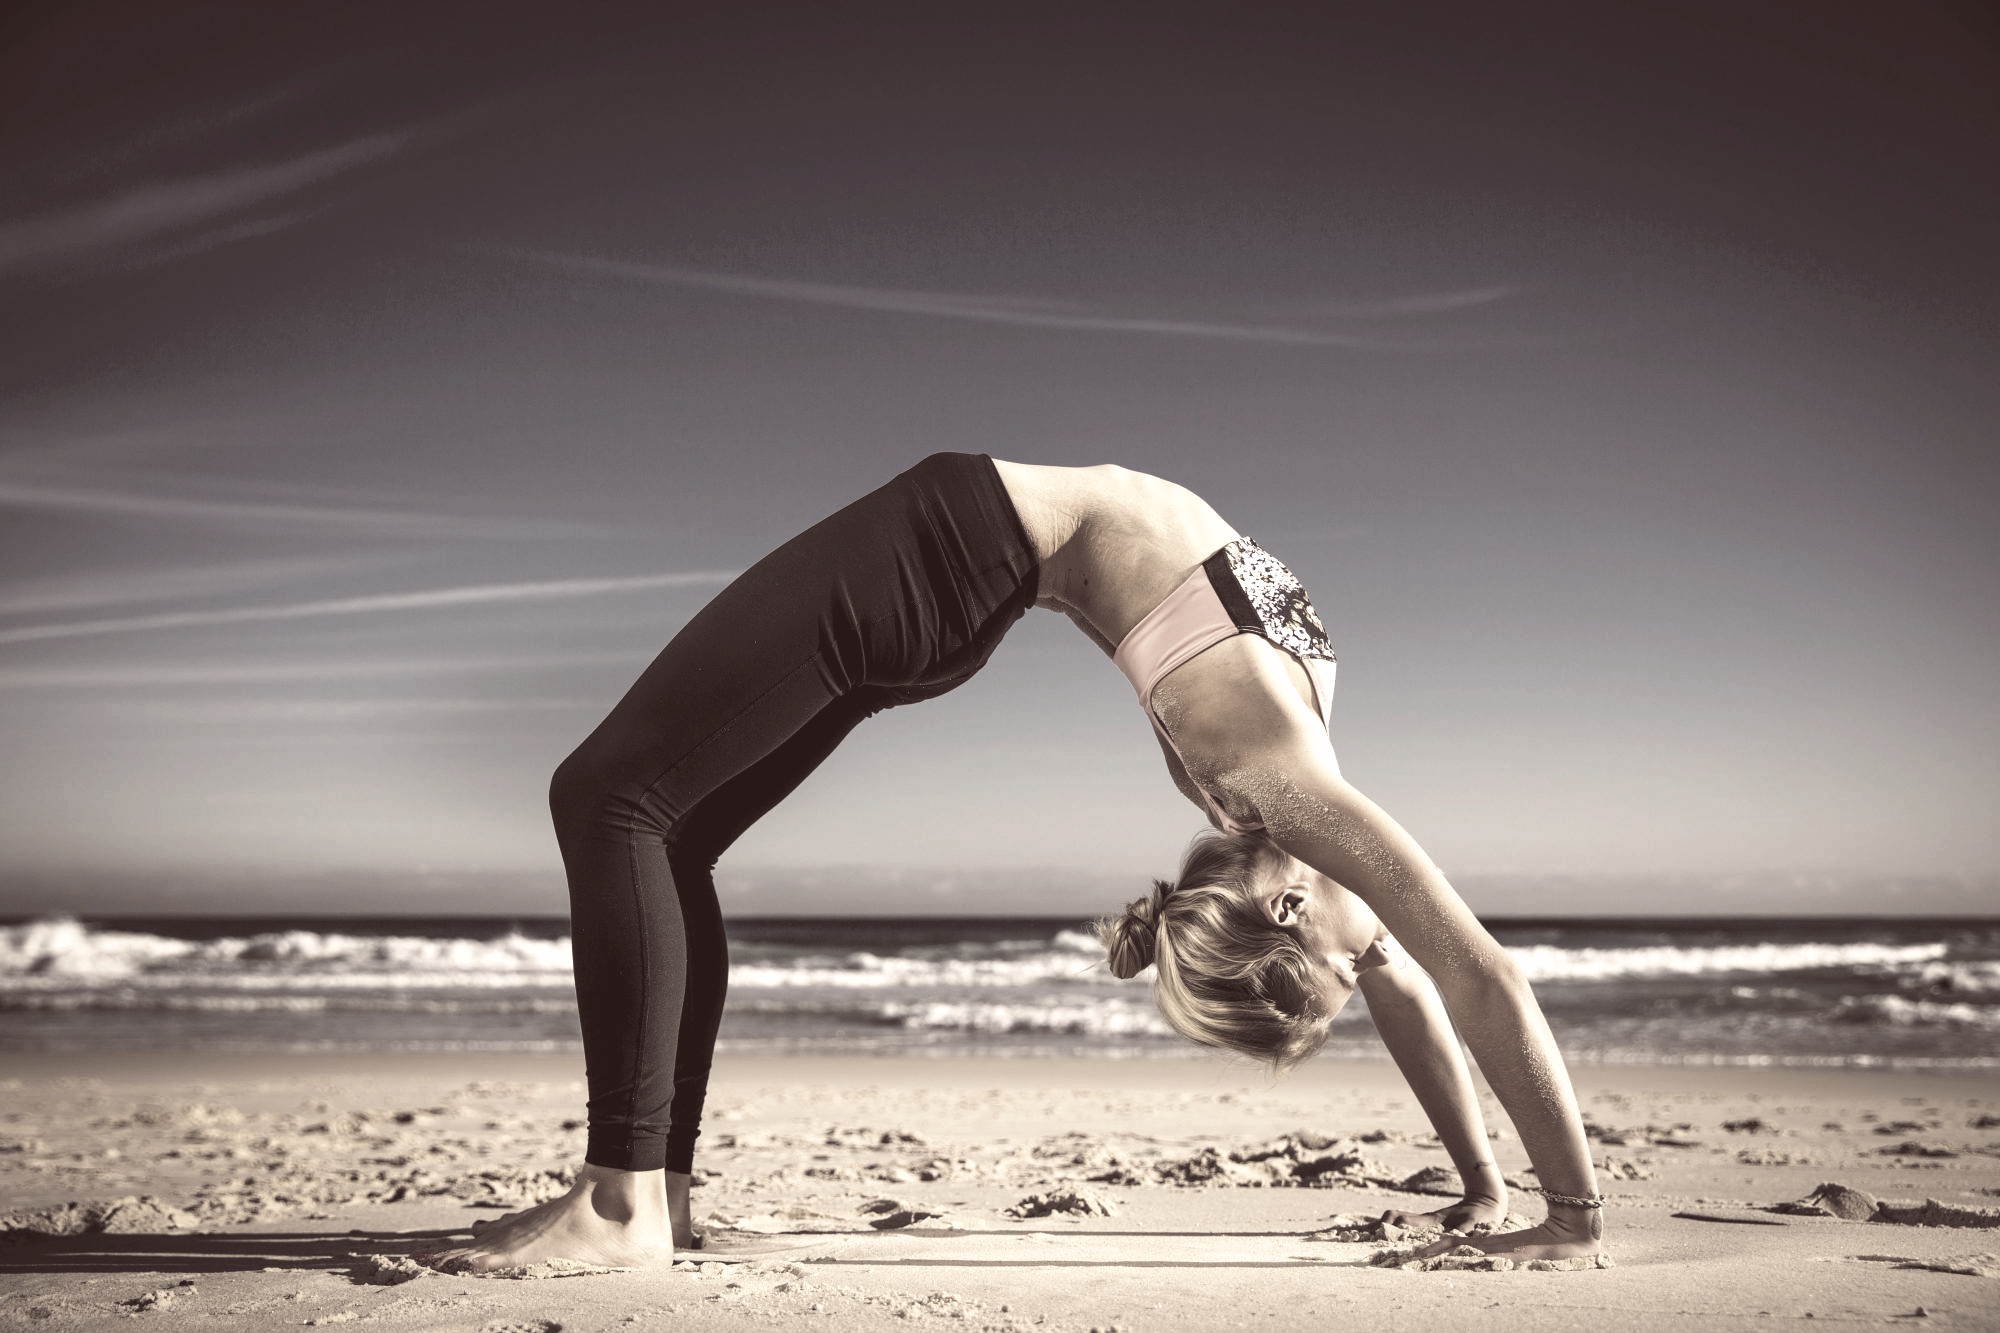
(OORD-vah don-your-AHS-anna)
urdhva = upward
dhanu = bow

Step by Step

1. Lie supine on the floor. Bend your knees and set your feet on the floor, heels as close to the sitting bones as possible. Bend your elbows and spread your palms on the floor beside your head, forearms relatively perpendicular to the floor, fingers pointing toward your shoulders.

2. Pressing your inner feet actively into the floor, exhale and push your tailbone up toward the pubis, firming (but not hardening) the buttocks, and lift the buttocks off the floor. Keep your thighs and inner feet parallel. Take 2 or 3 breaths. Then firmly press the inner hands into the floor and your shoulder blades against the back and lift up onto the crown of your head. Keep your arms parallel. Take 2 or 3 breaths.

3. Press your feet and hands into the floor, tailbone and shoulder blades against your back, and with an exhalation, lift your head off the floor and straighten your arms. Turn the upper thighs slightly inward and firm the outer thighs. Narrow the hip points and lengthen the tailbone toward the backs of the knees, lifting the pubis toward the navel.

4. Turn the upper arms outward but keep the weight on the bases of the index fingers. Spread the shoulder blades across the back and let the head hang, or lift it slightly to look down at the floor.

5. Stay in the pose anywhere from 5 to 10 seconds or more, breathing easily. Repeat anywhere from 3 to 10 times.

Benefits

  • Stretches the chest and lungs
  • Strengthens the arms and wrists, legs, buttocks, abdomen, and spine
  • Stimulates the thyroid and pituitary
  • Increases energy and counteracts depression
  • Therapeutic for asthma, back pain, infertility, and osteoporosis

If you feel like a mini yoga challenge, why not try three legged wheel?

Pose of the week – Pyramid pose

Seen as our Yoga Wellbeing theme is Yoga for Runners this week. We thought we would include a great all round stretches for alot of runners weaknesses. The pyrmaid pose stretches your spine but mostly stretches and strengthens the hamstrings. 

pyramid-pose1

Step by Step

1.Stand in the mountain pose. With an exhalation, step or lightly jump your feet 3½ to 4 feet apart. Rest your hands on your hips. Turn your left foot in 45 to 60 degrees to the right and your right foot out to the right 90 degrees. Align the right heel with the left heel. Firm your thighs and turn your right thigh outward, so that the center of the right knee cap is in line with the center of the right ankle.

2.Exhale and rotate your torso to the right, squaring the front of your pelvis as much as possible with the front edge of your mat. As the left hip point turns forward, press the head of the left femur back to ground the back heel. Press your outer thighs inward, as if squeezing a block between your thighs. Firm your scapulas against your back torso, lengthen your coccyx toward the floor, and arch your upper torso back slightly.

3.With another exhalation, lean the torso forward from the groins over the right leg. Stop when the torso is parallel to the floor. Press your fingertips to the floor on either side of the right foot. If it isn’t possible for you to touch the floor, support your hands on a pair of blocks or the seat of a folding chair. Press the thighs back and lengthen the torso forward, lifting through the top of the sternum.

4.In this pose the front-leg hip tends to lift up toward the shoulder and swing out to the side, which shortens the front-leg side. Be sure to soften the front-leg hip toward the earth and away from the same-side shoulder while you continue squeezing the outer thighs. Press the base of the big toe and the inner heel of the front foot firmly into the floor, then lift the inner groin of the front leg deep into the pelvis.

5.Hold your torso and head parallel to the floor for a few breaths. Then, if you have the flexibility, bring the front torso closer to the top of the thigh, but don’t round forward from the waist to do this. Eventually the long front torso will rest down on the thigh. Hold your maximum position for 15 to 30 seconds, then come up with an inhalation by pressing actively through the back heel and dragging the coccyx first down and then into the pelvis. Then go to the left side.

Pose of the week – Upward facing plank

plank

Yoga Wellbeing yogi’s seem to love this stretch. So we thought we would slot it in as our pose of the week. It’s a great stretch for the weekend to open the chest, spine and abdomen. Happy bending!

Step by Step

1. Sit in Dandasana (Staff Pose) with your hands several inches behind your hips and your fingers pointing forward. Bend your knees and place your feet on the floor, big toes turned inward, heels at least a foot away from your buttocks.

2. Exhale, press your inner feet and hands down against the floor, and lift your hips until you come into a reverse tabletop position, torso and thighs approximately parallel to the floor, shins and arms approximately perpendicular.

3. Without losing the height of your hips, straighten your legs one at a time. Lift your hips still higher without hardening your buttocks. Press your shoulder blades against your back torso to support the lift of your chest.

4. Without compressing the back of your neck, slowly drop your head back.

5. Hold for 30 seconds, then sit back down in Dandasana with an exhale.

Yoga Pose of the Month: Upavistha Konasana

Enjoy My Yoga Online’s feature yoga pose of the month, Upavista Konasana (Wide Angled Seated Forward Bend) presented by Dr. Robin Armstong.

Upavista KonasanaThis classic wide forward bend offers great benefits:
*Stretches Adductor muscles of the groin
*Stretches Hamstring muscles
*Strengthens the supportive musculature of the spine
*Encourages activation of the core
*Traditionally thought to increase blood flow to the pelvis, keeping it healthy

Contraindications/ Cautions
*Low Back Pain: Sit up on a block or blanket, high enough that you can maintain the natural curve of your low back. When you are folding forward, use your hands for support on the floor. If you cannot safely enter and exit the pose without pain, it is not appropriate for you.
*Sacroiliac Joint Pain: If you have been diagnosed with Sacroiliac Joint pain, avoid wide legged poses until the pain subsides. Return with caution, using your core to support you.
*Pregnancy: The hormone Relaxin causes the bones of the pelvis to be more mobile that usual. Take your legs slightly less than 90 degrees, and gently lift and support the pelvic floor muscles (a Kiegel) to prevent unnecessary shearing in the pubic symphis. Do not allow your stomach to be compressed against the floor.

Learn how to effectively and safely perform Upavistha Konasana.

No Tags


Stay in Touch

Our teachers are members of REPS
Follow us on twitter for the latest news

View our Current Timetable

View our Current Timetable
View our class timetable Our teachers are members of REPS

Professional Qualifications

Our teachers are members of REPS
They are qualified to the highest UK standard - CYQ

Yoga in the News

Yoga combats pain
Yoga helps society
Yoga and pregnancy