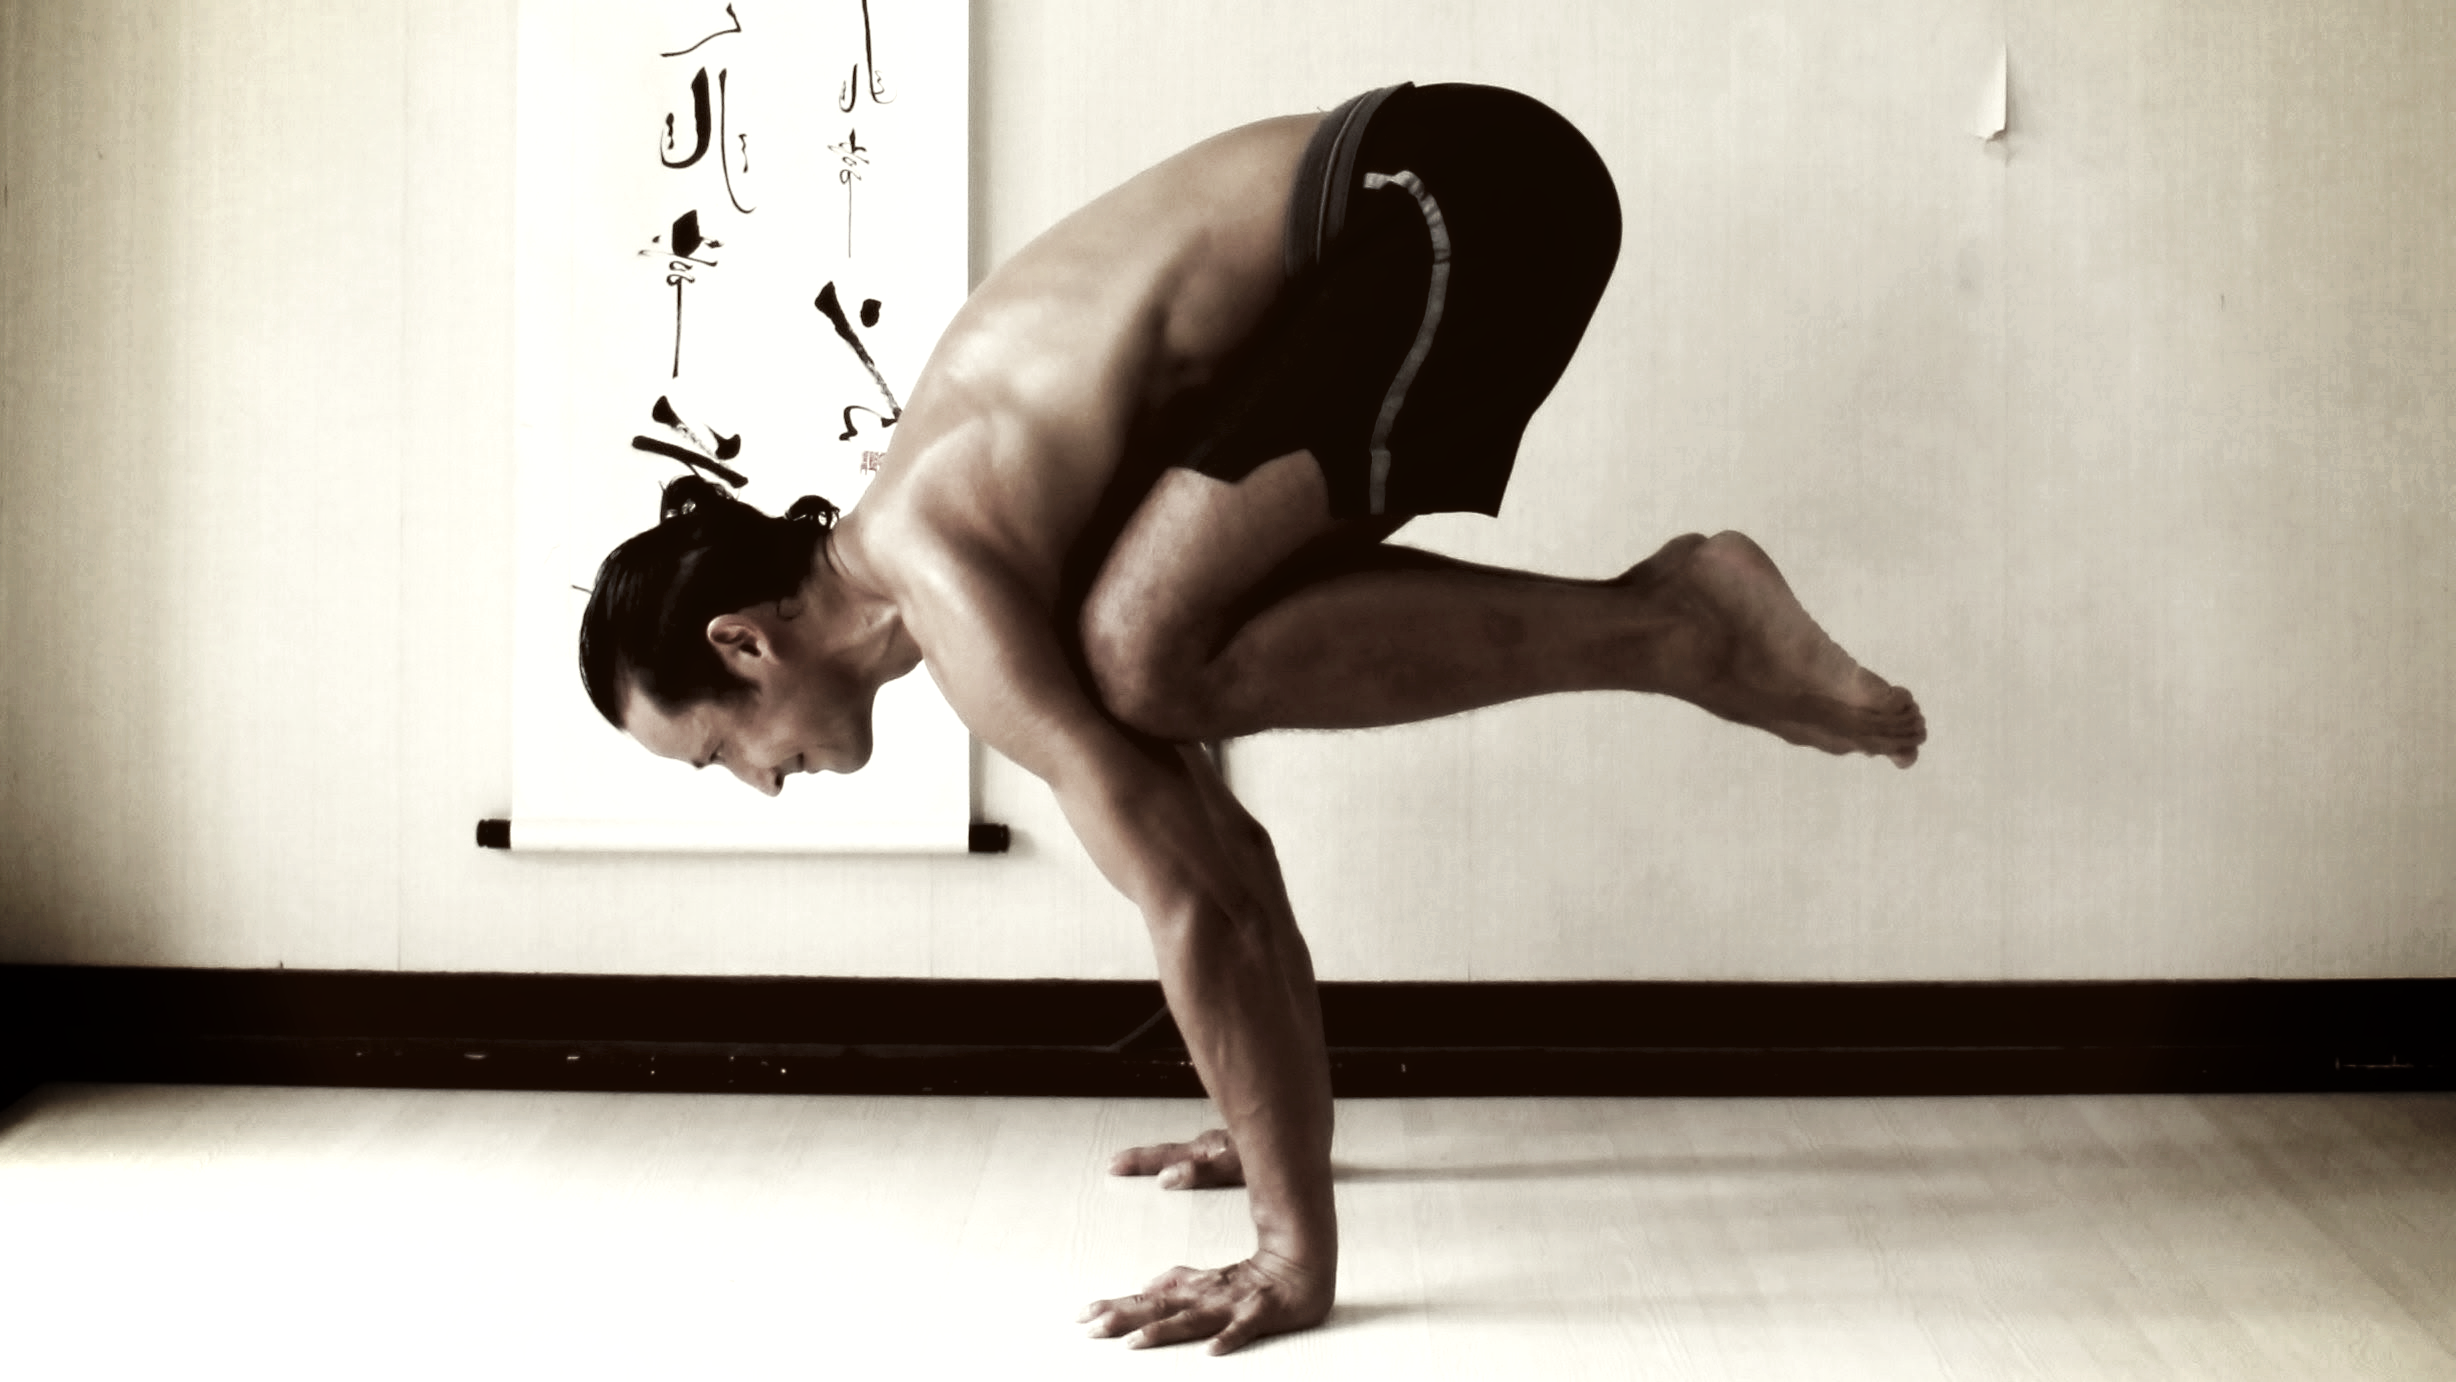
Do you feel like a little bit of a yoga challenge this weekend? Need some inspiration for your practice? Then why not try the side crane pose?
Side Crane Pose
Parsva Bakasana
Step by Step
1. Bend your knees to a half-squat, thighs parallel to the floor. If your heels don’t rest comfortably on the floor, support them on a thickly folded blanket. Take your left elbow to the outside of your right thigh as you soften your belly.
2. Exhaling, twist your torso to the right, bringing your left lower ribs across toward your right thigh as far as you can.
3. Slide the back of your left arm down the outside of the right thigh, bringing your outer armpit as close to the outer thigh as you can. Keeping the arm in place, do a slight back bend and draw your right shoulder back to twist your torso more deeply.
4. Exhaling each time, repeat these alternating backbending and twisting movements until you reach your maximum rotation. Then slide your left upper arm several inches toward your right hip and press it firmly against your right thigh; maintaining this pressure, draw the upper arm back toward your right knee without allowing the skin to slide. This will rotate the flesh of the upper arm outward, locking it in place. Once your arm is in position on your thigh, note the point of skin-to-skin contact. Try not to change it throughout the pose.
5. Now squat down fully, buttocks just above your heels. Place your left palm on the floor just outside your right foot. If the hand doesn’t easily reach the floor, tip your torso to the right until you can put your palm down flat. Maintaining contact between your left upper arm and your right outer thigh, lean even more to the right until you can place your right hand on the floor. Your hands should be shoulder width apart and positioned on an imaginary line drawn diagonally away from your right foot angled in the direction of the heel. Set your fingers parallel to each other. Most of your weight will still be on your feet.
6. Concentrate on maintaining the point of contact between your left arm and right thigh as you slowly lift your pelvis and shift it to the right, aiming to bring the middle of your abdomen above and between your hands. This is not the precise balance point, but if you get this close you’ll probably be able to find the perfect position by feel. As you get close, the weight on your hands will increase, while that on your feet will decrease until they lift easily.
7. Now put the finishing touches on the pose. Keep your feet together and press out through their inner edges. Draw your heels toward your buttocks. Exhaling, soften your belly to prepare for the twist, then pull your left hip strongly down and lift both feet up. Your left arm may remain slightly bent, but straighten it as much as you can without allowing your legs to slide down.
8. Straighten your right arm completely. As you lift your right shoulder, twist your spine further. Lift your chest and head, and look forward. Breathe evenly and naturally. Hold the pose for 20 seconds or longer, then lower your feet back to the floor with an exhale. Repeat it on the other side for the same length of time.


Please can we have more posts like this one
LoLllll