Tag: Fitness
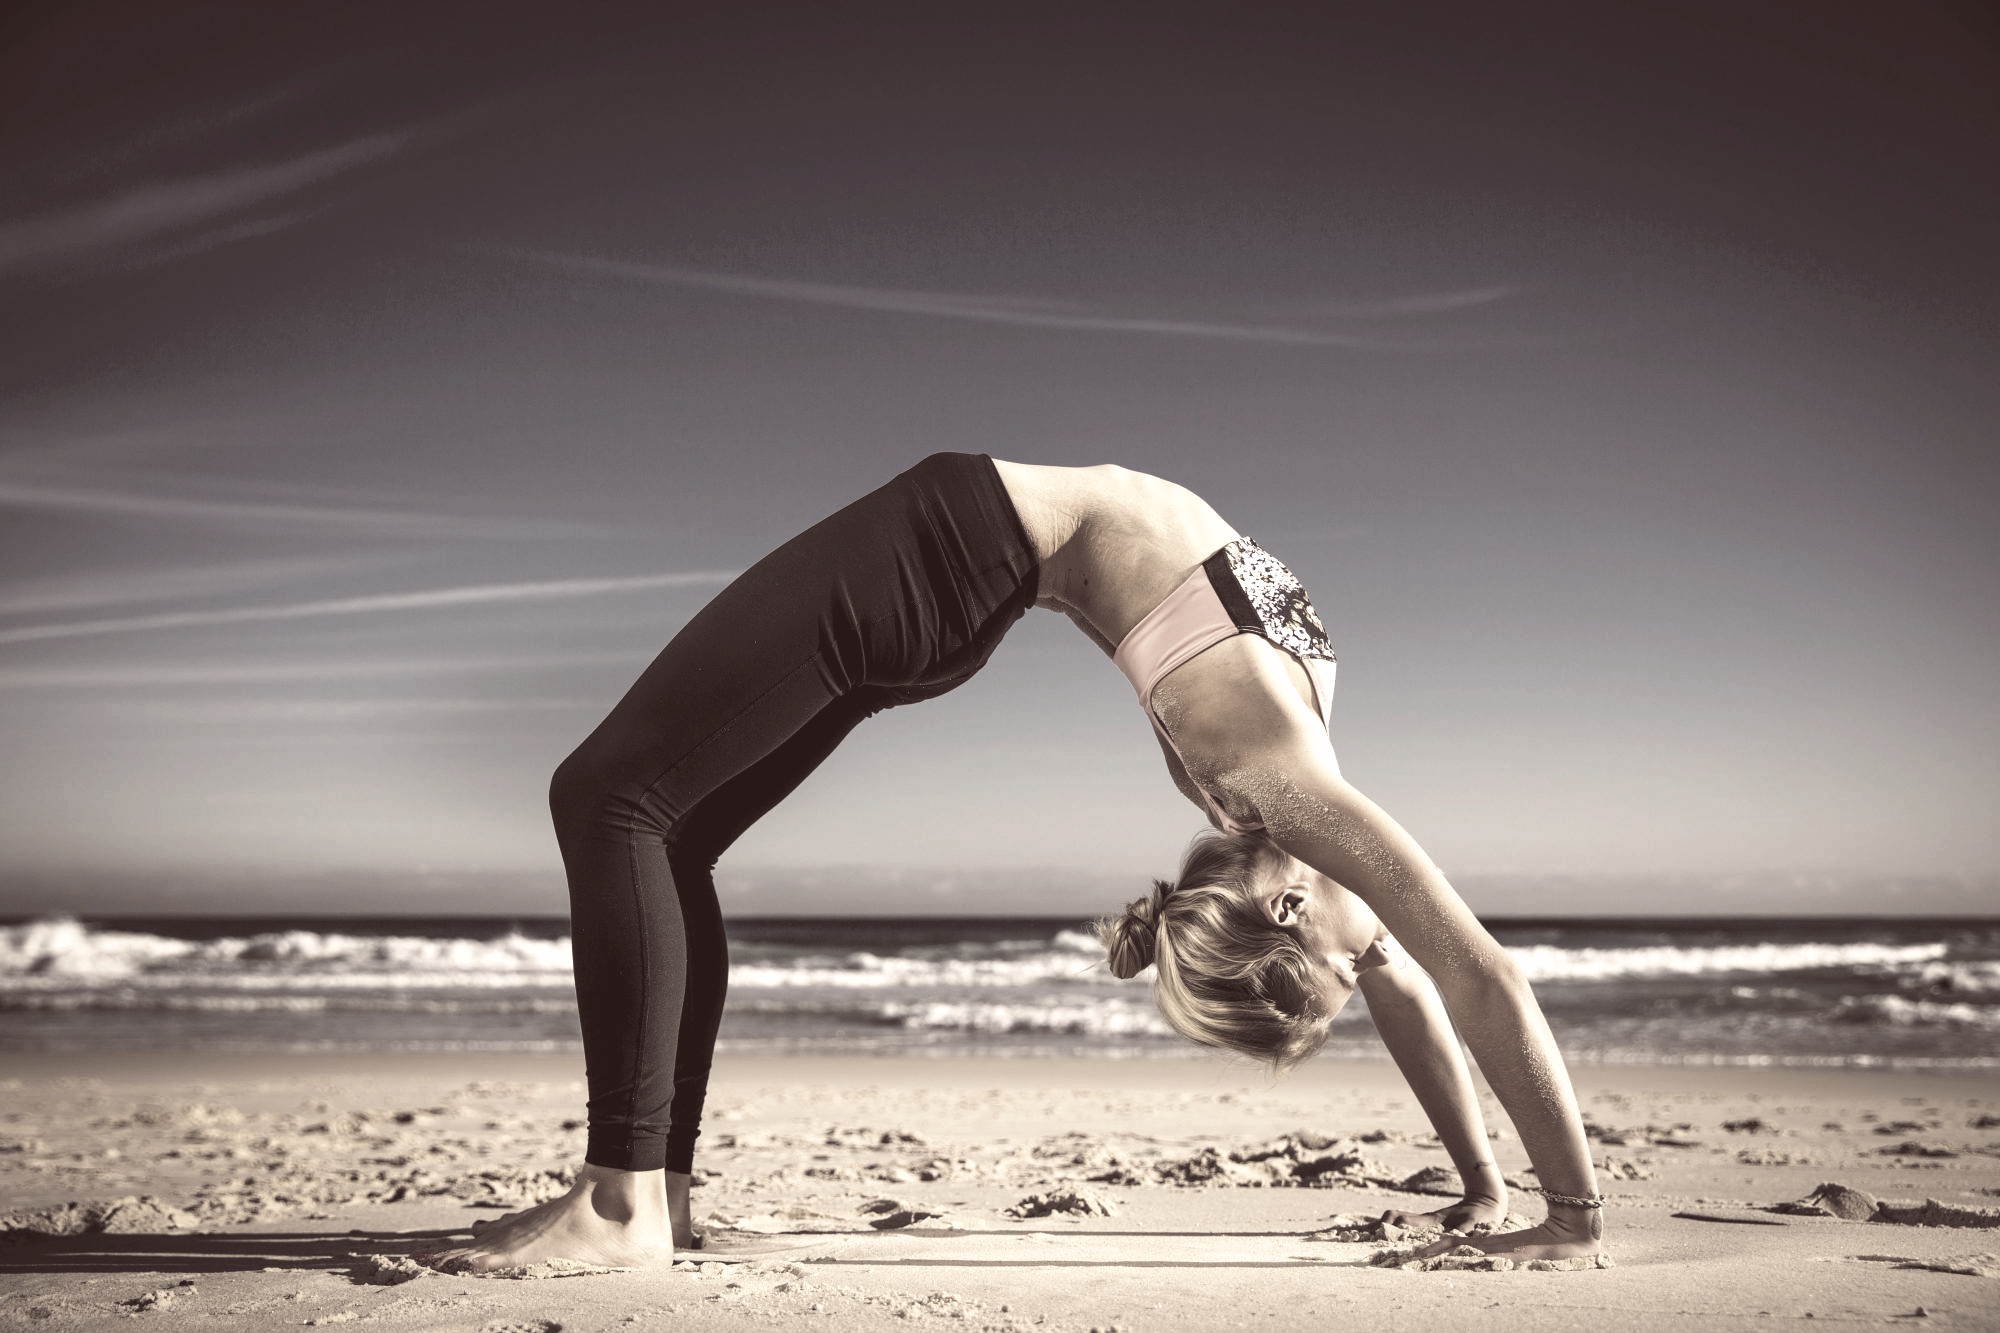
(OORD-vah don-your-AHS-anna) urdhva = upward dhanu = bow Step by Step 1. Lie supine on the floor. Bend your knees and set your feet on the floor, heels ...
READ MORE +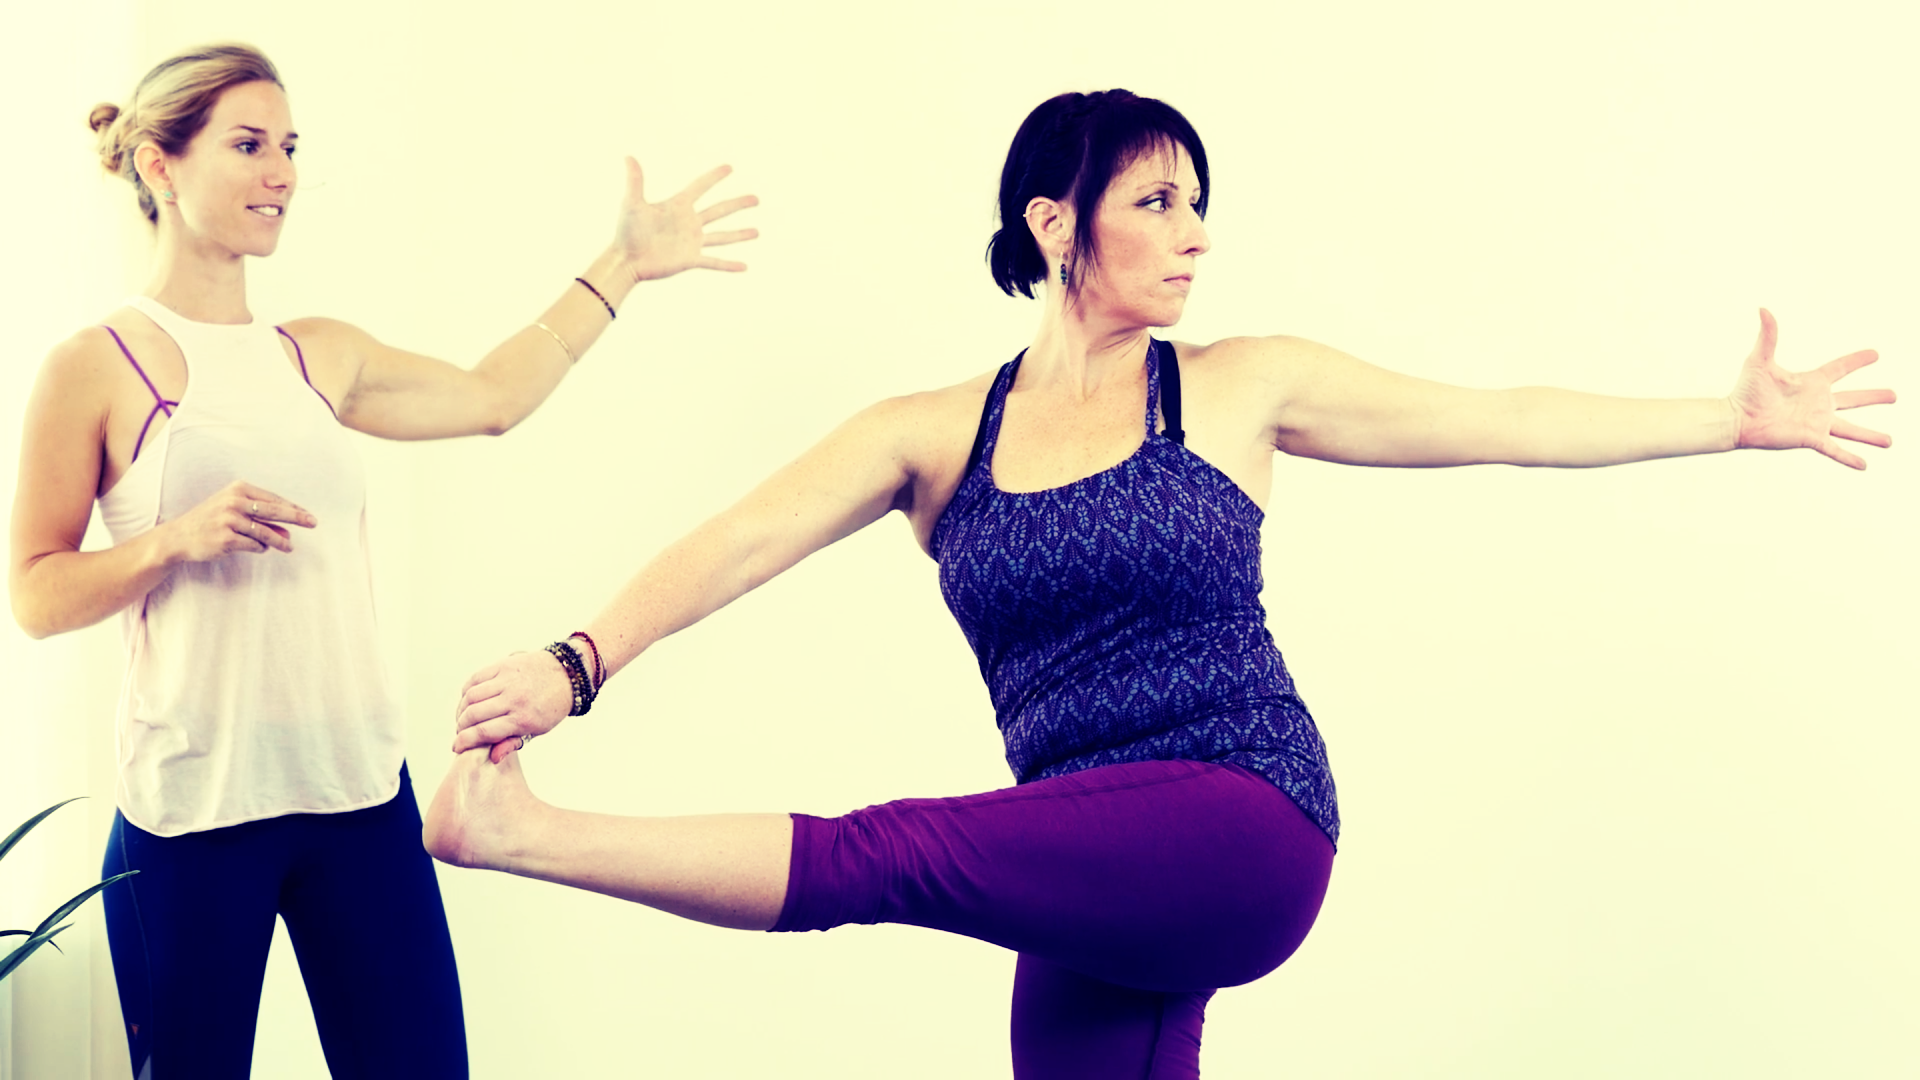
Why not start your week off with a good stretch and give yourself a mini Yoga Wellbeing challenge? This stretch strengthens the legs and ankle, it stretches ...
READ MORE +
Are you suffering from a post-lunch energy dip? Learn how to keep yourself energised throughout the day. Research shows that the most common time for ...
READ MORE +
Yoga in Prisons workshops throw up the philosophical questions such as Who am I? Am I separate from what I do? They investigate basic goodness, identity, ...
READ MORE +
It's the paradox of sunscreen. When you dutifully slather on the SPF 30 before heading outside on a sunny day, you're protecting your skin from harmful ...
READ MORE +
Here at Yoga Wellbeing we seem to be getting a huge amount of professional runners come to us asking for a little bit of help with flexibilty. One of the main ...
READ MORE +
This is a great way to destress at the weekend. It opens up the chest and gets the energy flowing. So why not give it a try this weekend? (oosh-TRAHS-anna) ...
READ MORE +
You probably heard at least something about the record breaking three-day tennis match between the US John Isner and France's Nicolas Mahut, but you may not ...
READ MORE +
From shoulderstand, exhale and bend from the hip joints to slowly lower your toes to the floor above and beyond your head. As much as possible, keep your ...
READ MORE +
Yoga Wellbeing Step by Step 1. Squat with your feet a little less than shoulder width apart, knees wide. 2.Tilt your torso forward between your ...
READ MORE +- 1
- 2
- 3
- 4
- Next Page »